I’m a little late to the main attraction here, but I learned a ton about comet capture and processing in this exercise.
If you would like to see Full Resolution Images, Please check one of the following:
- Astrobin submission for capture details: https://www.astrobin.com/99vz1s/
- Flickr for full resolution: https://flic.kr/p/2oi618E
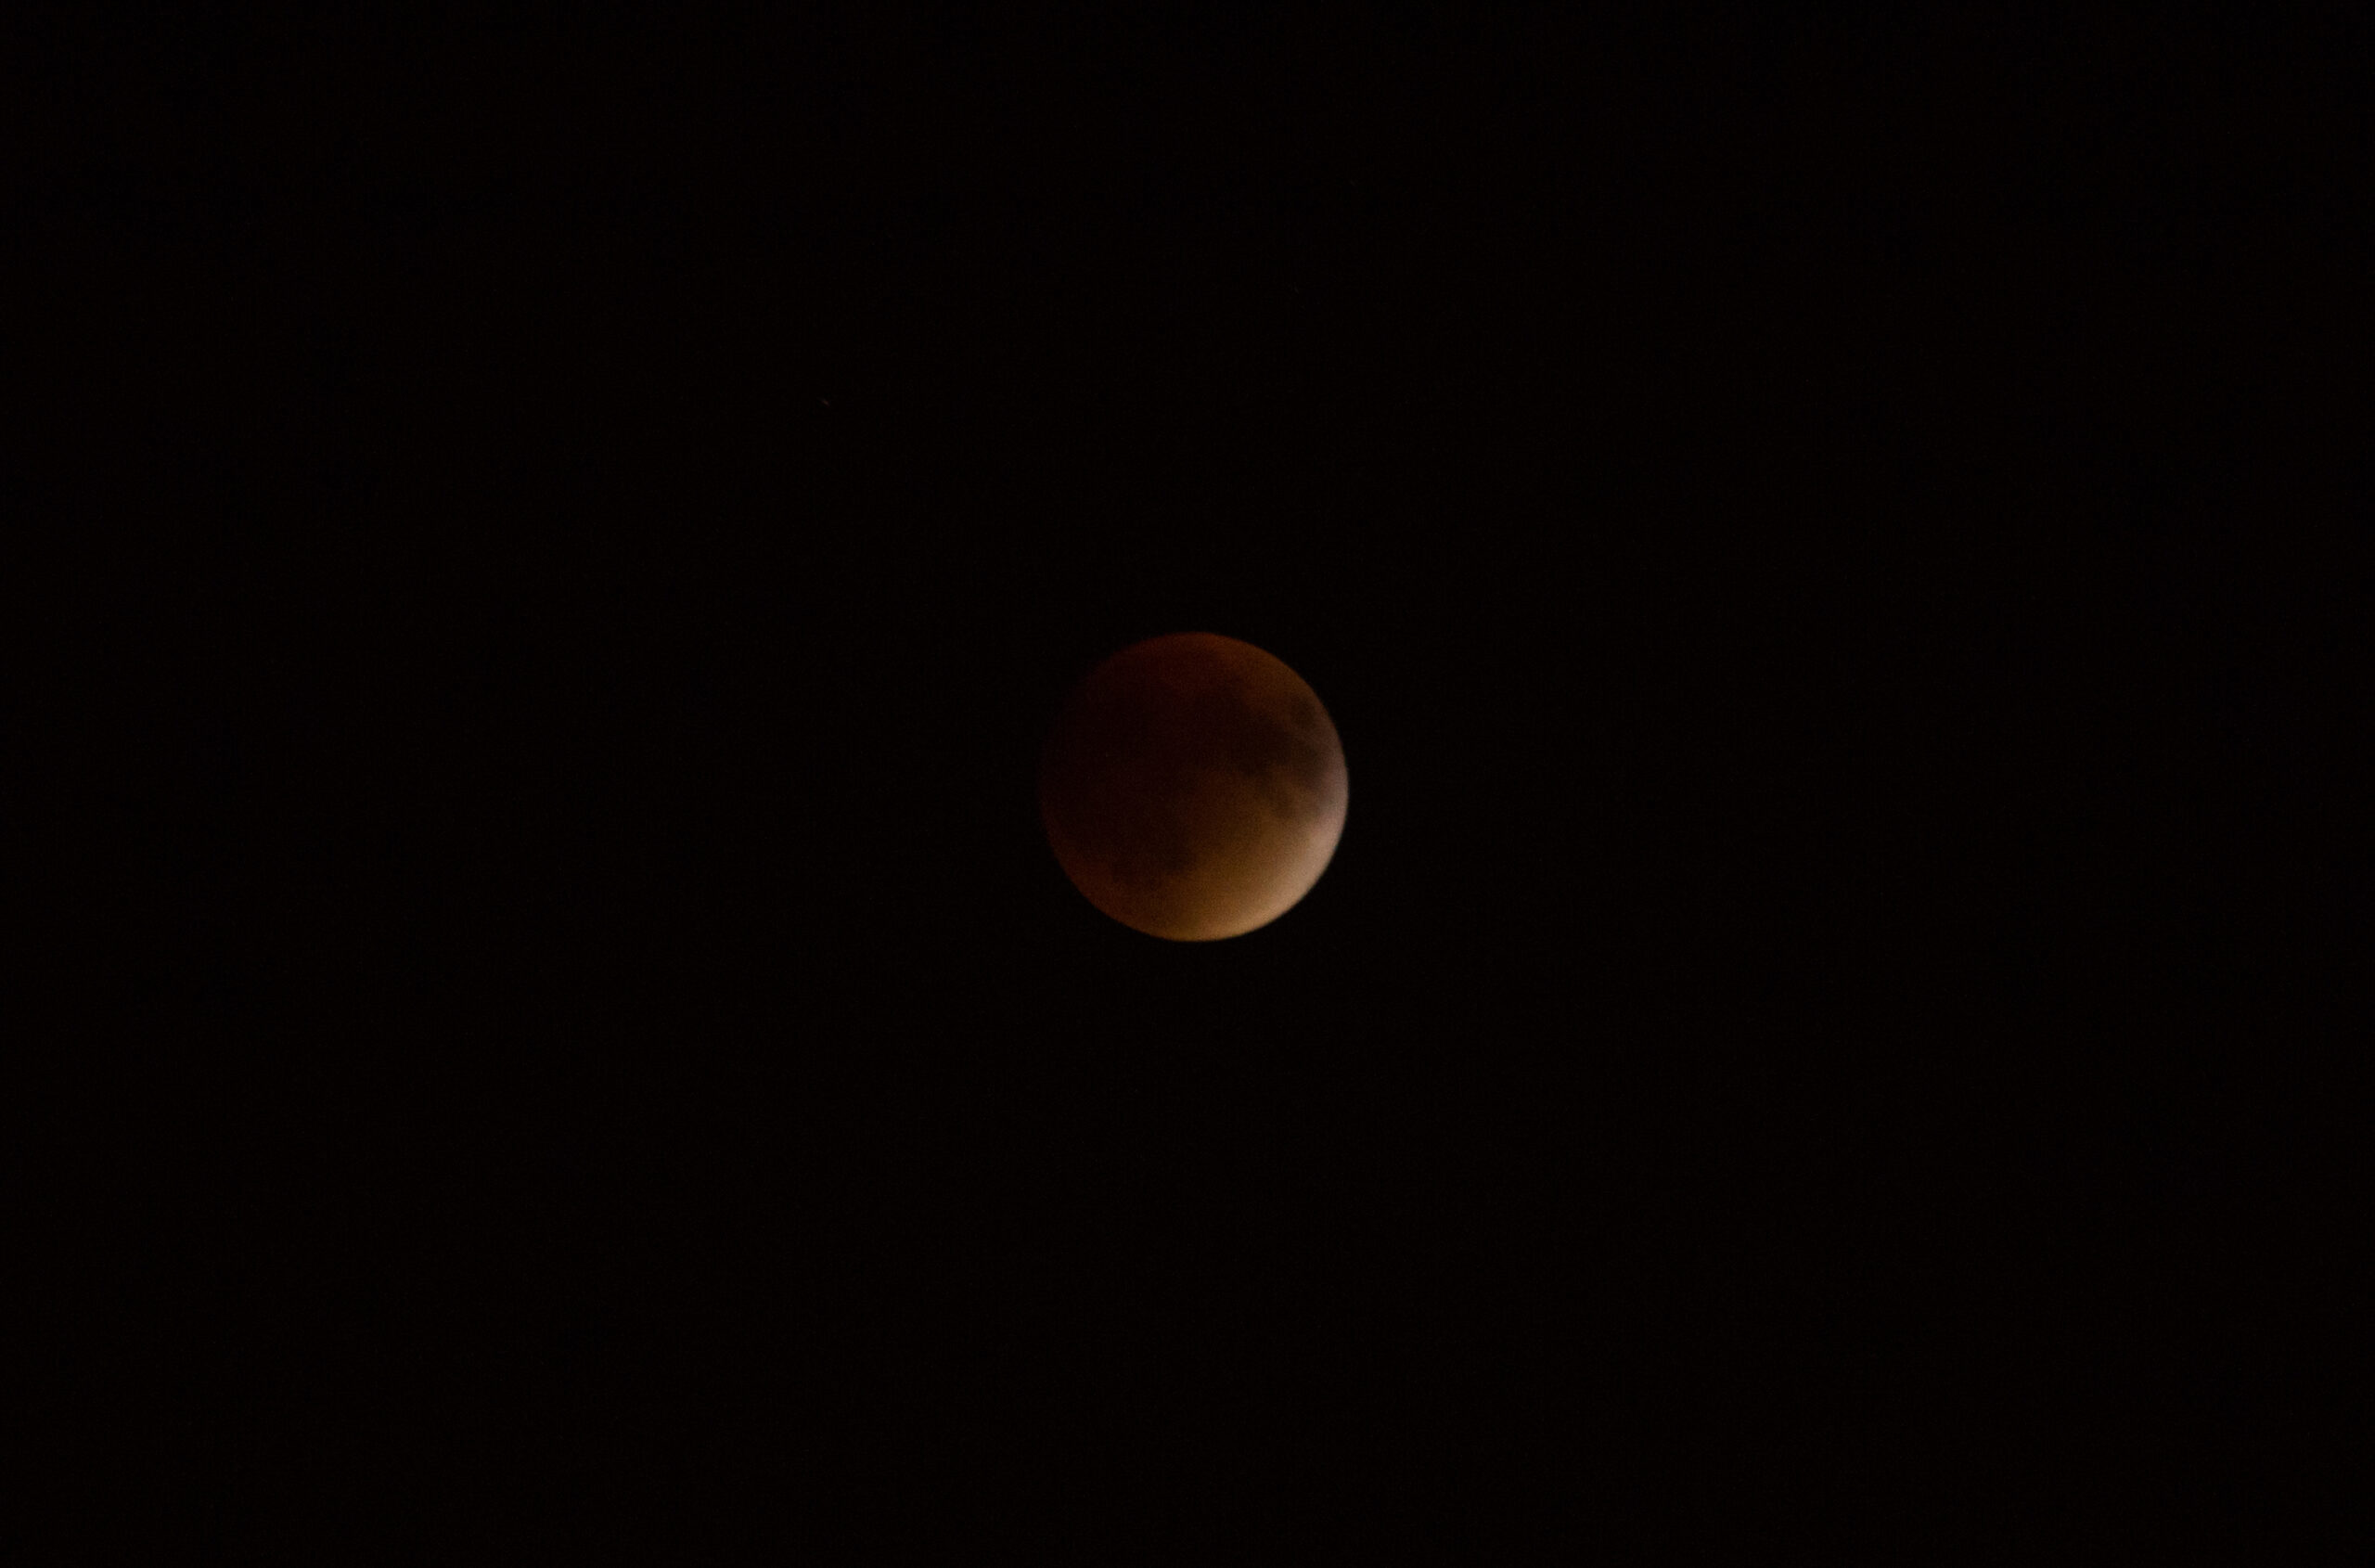
“The Green Comet” has fallen out of favor of many astronomers now that it is fading in its path away from Earth. I am always mesmerized by people’s image captures of comets and consider these imagers practically magicians. Many people don’t realize how much more complicated capturing and processing comets are compared to the complexity of deep space or other solar system objects. With respect to the star field around the comet, the comet moves MUCH faster than those stars. This presents a few problems. If during capture, your exposure goes too long you will get a streaky comet core. This should be avoided. If you process your captured frames by aligning on the stars, you will also get a streaky comet. If you process your captures by aligning on the comet – you will get a streaky star field. I have never successfully captured and processed a faster moving comet before, and it took me a few tries to get through this to this result.

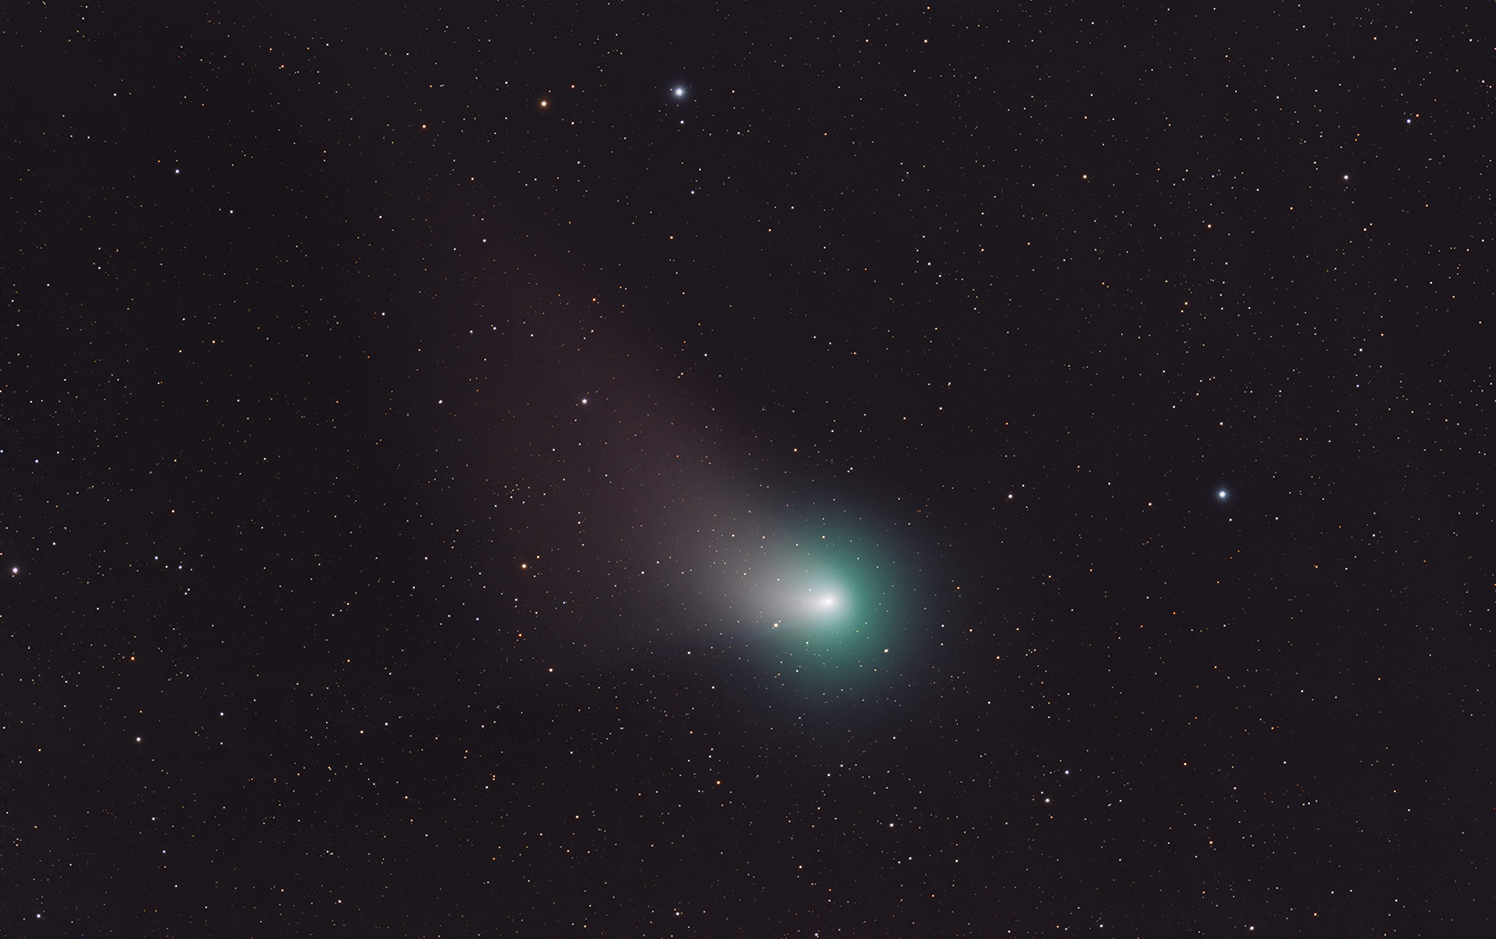
So below you can see where the comet was roughly located when I captured it. This image was taken on Feb 11th (the night of close approach to Mars) and is made of 15 minutes of each RGB. South is roughly down, and notice in the annotated image there is a Lynds Dark Nebula identified as LDN 1541.

In this next image, NOT taken by me, you will find a collection of LDN objects, Mars and ZTF. This one was taken a few hours before my image at ZTF’s close approach. The imager on this photo was a user called “Jazza” on the site Telescopius. Check out their other work, and be amazed at how good they are at capturing dark nebulas. Amazing work here. https://telescopius.com/pictures/view/141817/comet/NGC/1746/open-cluster/by-jazza?from=dso&dso_id=16725#annotated

Lessons Learned on Comet Processing:
- When capturing, be sure to test max exposure time right off the bat. In my case I gave up about an hour of imaging time, and then noticed my 60s exposures were streaking.
- Understanding the use of WBPP and Comet Alignment process in PixInsight – use the reference to Visible Dark below.
- I was bashful about doing more imaging time, so I stayed with 20 exposures. I should have gone for 60 exposures. The comet alignment process will help weed out weak frames as well as help develop the clean comet pictures.
- My image shows just a small trace of the comet’s ion tail. You need quite a bit of exposure time to get that… as it is clearly seen in Jazza’s photo.
- Look at other’s wider field of view images, and frame the comet as good so you can pull in as much of the comet’s ion tail – it is HUGE!
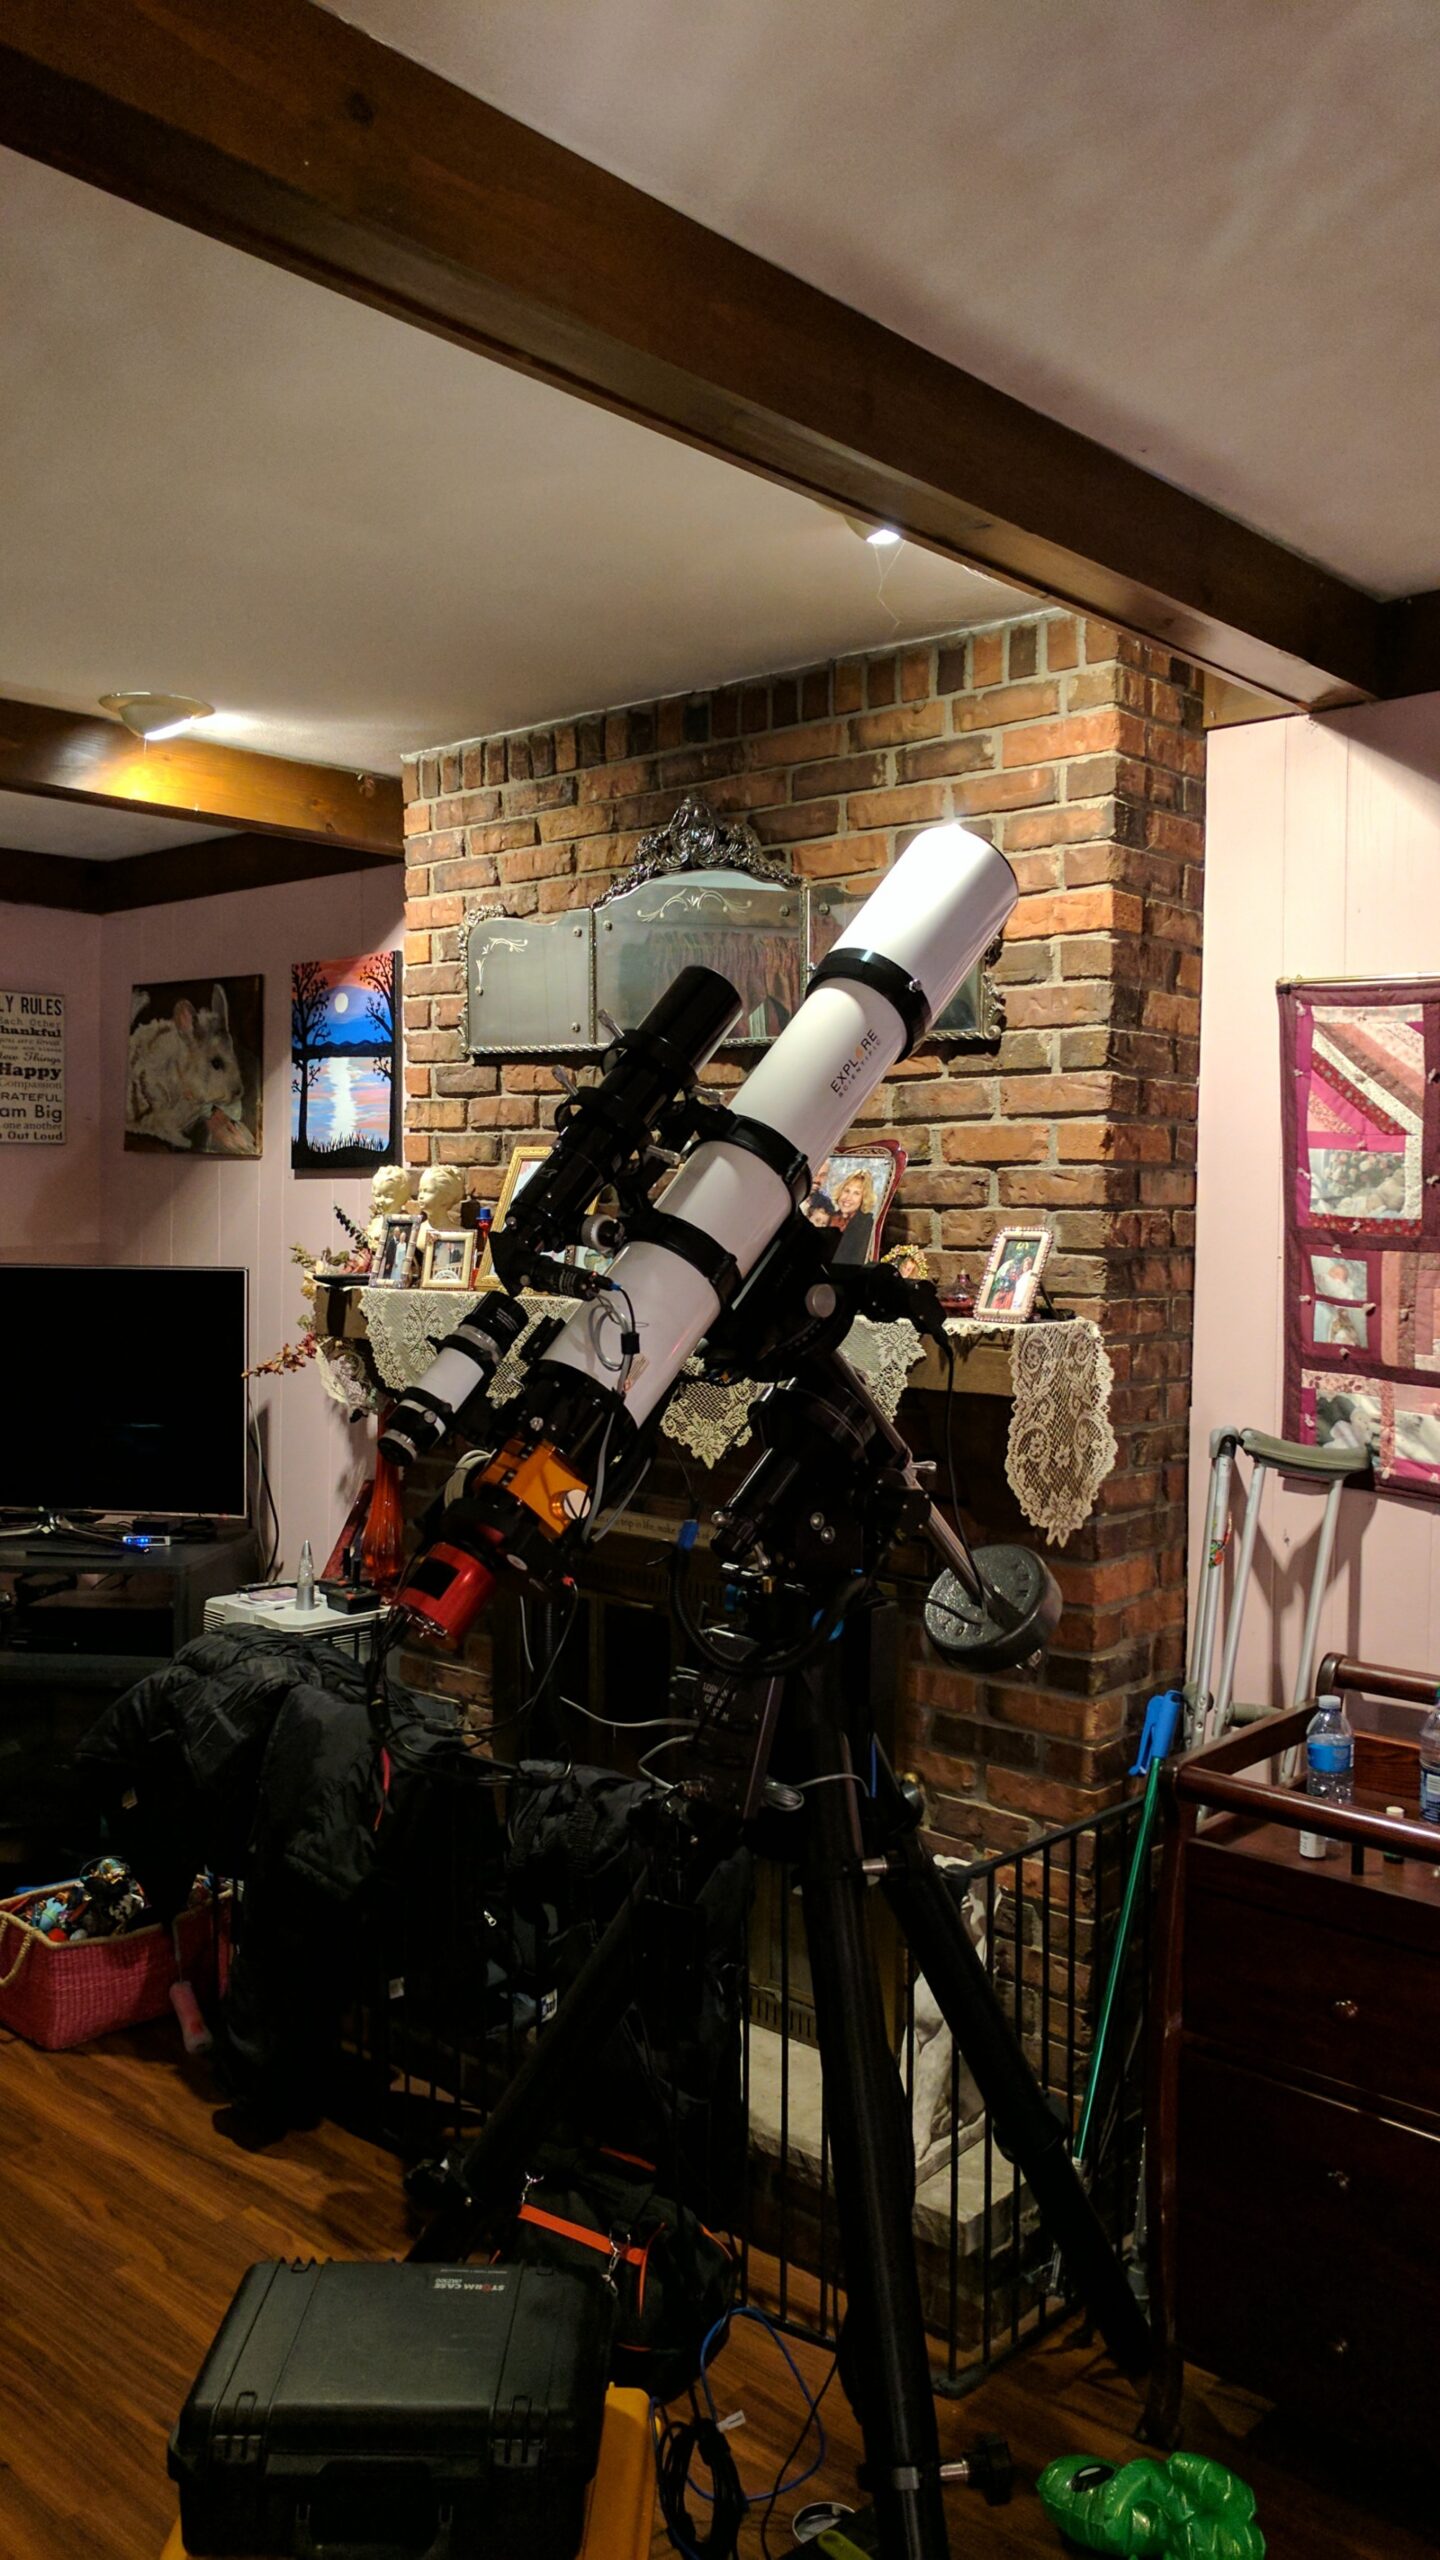
Gear Used:
- Stellarvue SVX102T
- Losmandy G11 Mount
- ZWO ASI2600MMP
- ZWO Color Filters 2”
Image Capture Details:
Date: February 11th (just before close approach to Mars)
Integration Method: RGB Comet Combination
- Red – 20 x 45s
- Green – 20 x 45s
- Blue – 20 x 45s
Image Processing Workflow:
- Pixinsight – WBPP to get through star aligned data and calibrated/registered frames
- Pixinsight – Comet Processing Tools – follow this procedure from Visible Dark – https://youtu.be/Zs4XrUrMevM
- PixInsight – Post Processing – at this point have a Comet Centric frame and a stars centric frame.
- Dynamic Crop – both frames same crop
- Dynamic Background Extraction (DBE) – both frames independently
- Background Neutralization – both frames
- BlurXterminator – Stars Frame with streaky comet
- Histogram Transformation – both frames
- SCNR – Green Removal – not the comet frame
- NoiseXterminator – both frames
- StarExterminator – just the stars frame – remove the streaky comet.
- At this point we have two frames – one with just the stars and one with just the comet. Save them both as 16 bit TIFFs and I moved over to photoshop where I’m more comfortable.
- Photoshop – Post Processing
- Load starless frame as background
- Load Star frame and set up Blending to be Linear Dodge Add
- Starless Processing:
- Used clone stamp and did some blending of the streaky stars that were removed from Comet Frame.
- Levels and Curves
- Hue, Vibrance and Saturation
- Topaz Labs – Adjust AI – very mild sharpening and clarity. Final tweaks on Black settings.
- Final Color Tweaks – specific features using masks.
- Stars Processing:
- Modify Star Brightness and fuzz up a bit
- Star saturation boost
- Publishing of 1x, .5x and .25x PNG files